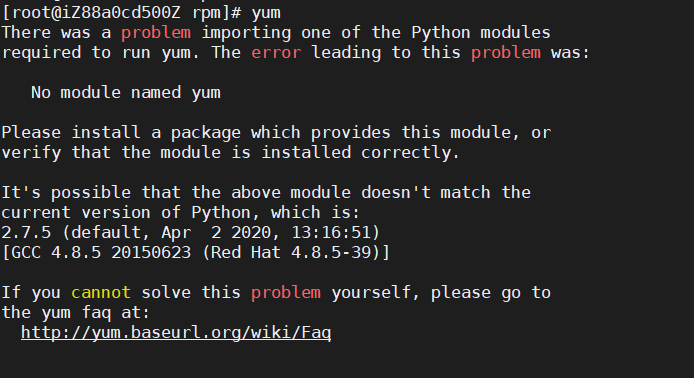
There was a problem importing one of the Python modules
required to run yum. The error leading to this problem was:

   No module named yum

Please install a package which provides this module, or
verify that the module is installed correctly.

It's possible that the above module doesn't match the
current version of Python, which is:
2.7.5 (default, Apr  2 2020, 13:16:51)
[GCC 4.8.5 20150623 (Red Hat 4.8.5-39)]

If you cannot solve this problem yourself, please go to
the yum faq at:
  http://yum.baseurl.org/wiki/Faq
#set user history history USER=`whoami` USER_IP=`who -u am i 2>/dev/null| awk '{print $NF}'|sed -e 's/[()]//g'` if [ "$USER_IP" = "" ]; then USER_IP=`hostname` fi if [ ! -d /var/log/history ]; then mkdir /var/log/history chmod 777 /var/log/history fi if [ ! -d /var/log/history/${LOGNAME} ]; then mkdir /var/log/history/${LOGNAME} chown -R ${LOGNAME}:${LOGNAME} /var/log/history/${LOGNAME} chmod 770 /var/log/history/${LOGNAME} fi export HISTSIZE=4096 DT=`date +"%Y%m%d_%H:%M:%S"` export HISTFILE="/var/log/history/${LOGNAME}/${USER}@${USER_IP}_$DT" chmod 660 /var/log/history/${LOGNAME}/*history* 2>/dev/null
if test -f /sys/kernel/mm/transparent_hugepage/enabled; then echo never > /sys/kernel/mm/transparent_hugepage/enabled fi if test -f /sys/kernel/mm/transparent_hugepage/defrag; then echo never > /sys/kernel/mm/transparent_hugepage/defrag fi
3、调整客户端最大数
1 2 3 4 5
vi /etc/security/limits.conf * soft nofile 65536 # open files (-n) * hard nofile 65536 * soft nproc 65565 * hard nproc 65565 # max user processes (-u)
tar xvf mariadb-10.4.12-linux-x86_64.tar.gz -C /usr/local/ cd /usr/local ln -s mariadb-10.4.12-linux-x86_64 mysql groupadd mysql useradd -g mysql mysql
./bin/mysql -uroot -p select host,user,password from user; GRANT ALL PRIVILEGES ON *.* TO 'root'@'%' IDENTIFIED BY 'econage123' WITH GRANT OPTION; FLUSH PRIVILEGES;
5、创建主从连接的用户
1 2 3 4
create user 'admin'@'%' identified by 'admin123'; grant replication slave on *.* to 'admin'@'%'; FLUSH PRIVILEGES; show master status;
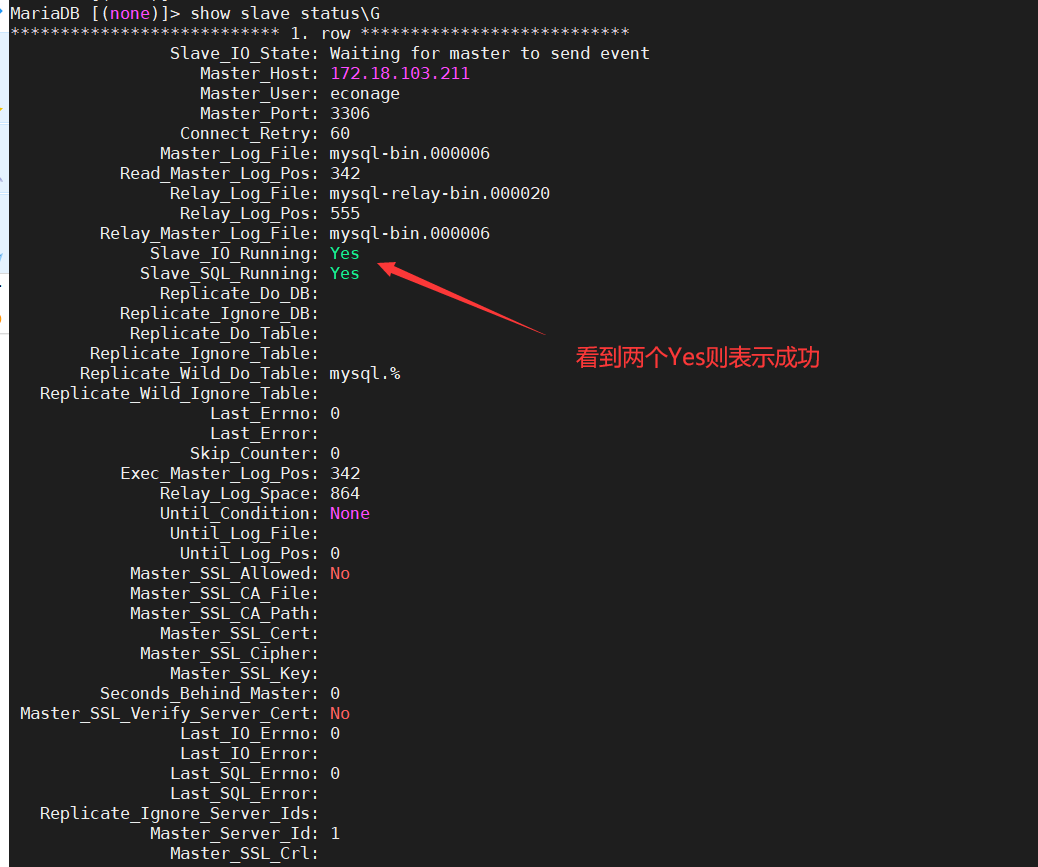
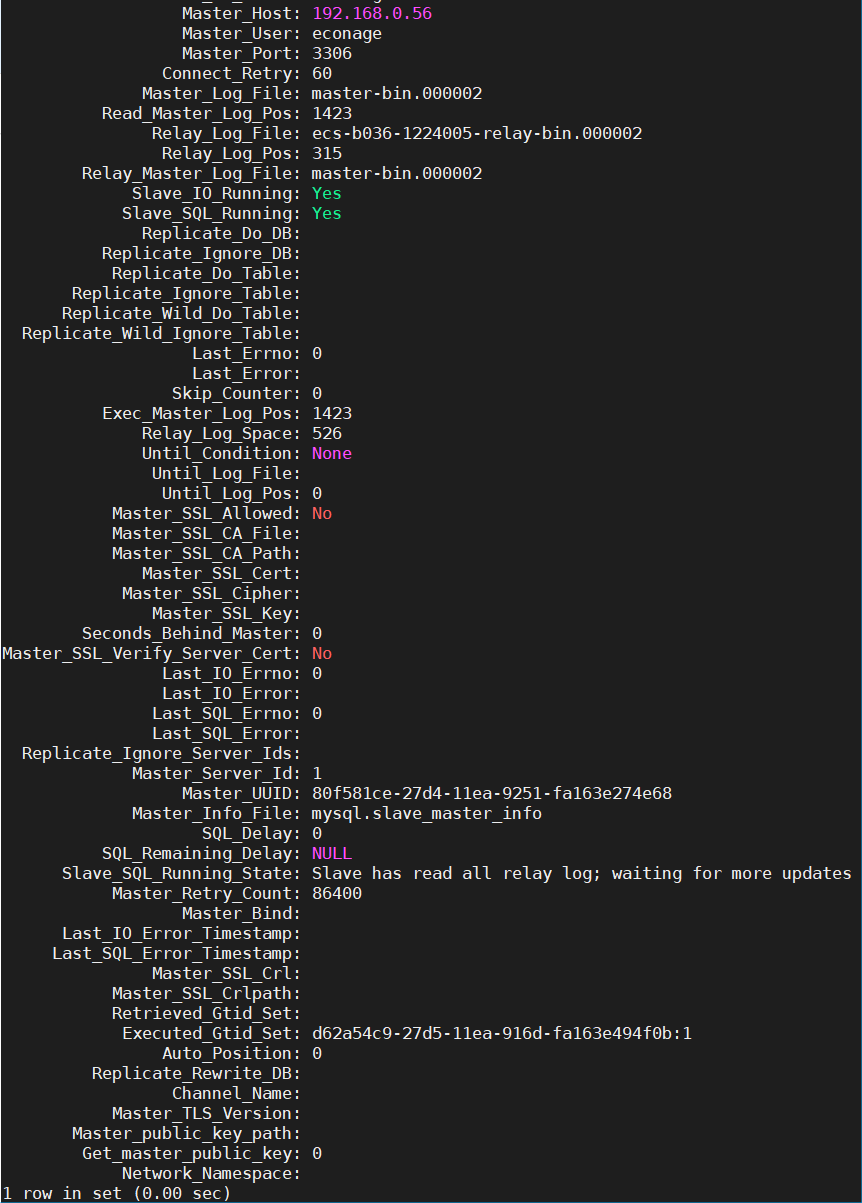
6、进行关联master节点
1 2 3 4 5 6 7
CHANGE MASTER TO MASTER_HOST='172.18.103.211', MASTER_USER='econage', MASTER_PASSWORD='econage', MASTER_PORT=3306, MASTER_LOG_FILE='mysql-bin.000003', MASTER_LOG_POS=1552;
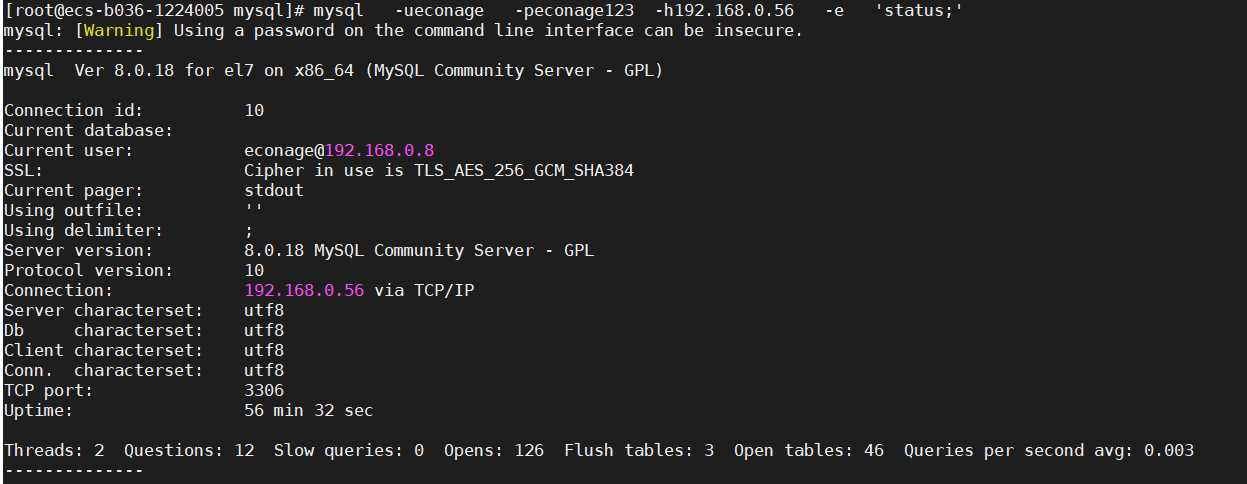
groupadd mysql useradd -r -g mysql -s /bin/false mysql cd /usr/local tar xvf mysql-8.0.18-el7-x86_64.tar.gz ln -s mysql-8.0.18-el7-x86_64 mysql cd mysql mkdir mysql-files chown mysql:mysql mysql-files chmod 750 mysql-files bin/mysqld --initialize --user=mysql bin/mysql_ssl_rsa_setup bin/mysqld_safe --user=mysql & cp support-files/mysql.server /etc/init.d/mysql.server
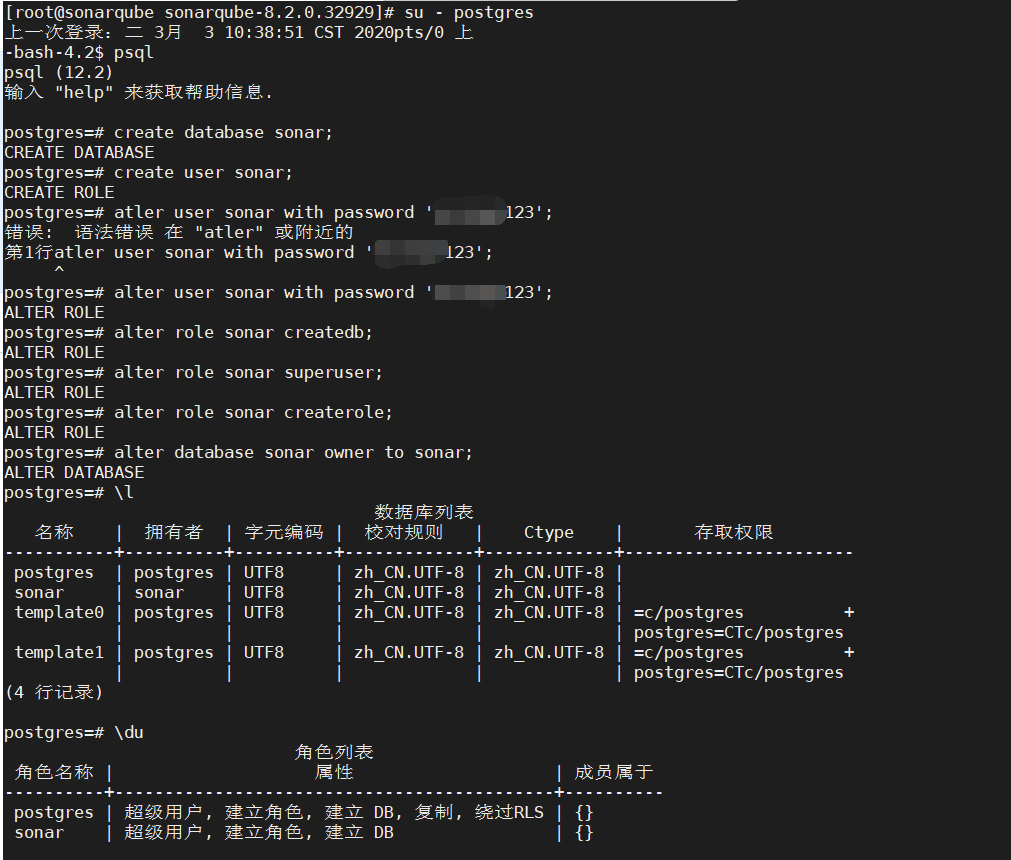
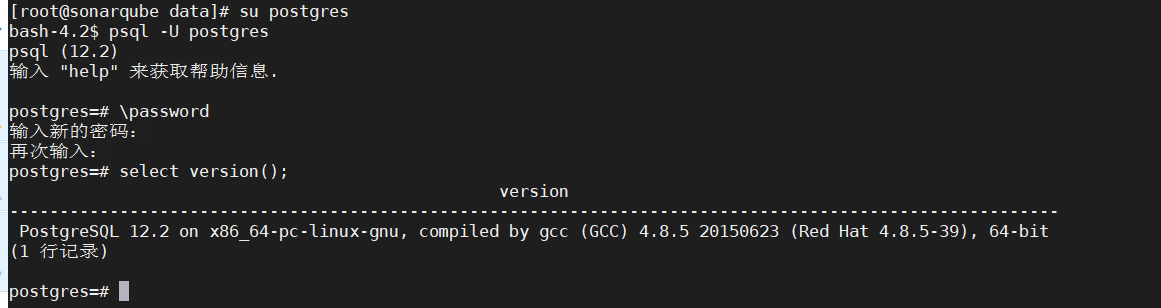
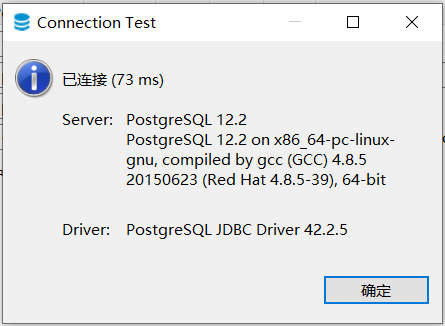
psql #进入命令行模式 create database sonar; #创建sonar数据库 create user sonar; #创建sonar用户 alter user sonar with password 'postgres'; #设置sonar用户密码(否则会导致连不上数据库) alter role sonar createdb;alter role sonar superuser;alter role sonar createrole; #给sonar授权 alter database sonar owner to sonar; #更改sonar数据库拥有者(这一步是必须的,否则会sonarqube会连接失败)
psql进入命令行模式 \l查看数据库 \du 查看用户
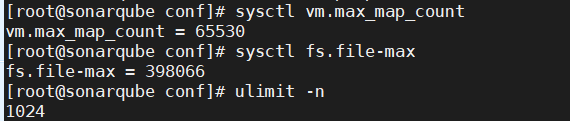
3、修改系统配置
1 2 3 4
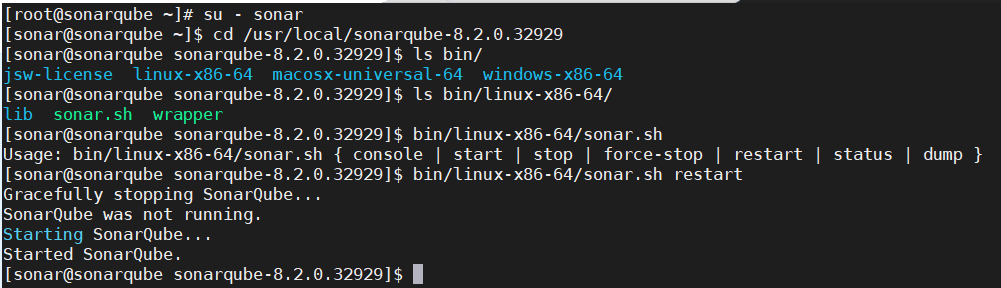
1.不能用root起!
2.切换用户必须 su - username
3.切换好用户千万别忘记给这个用户授权你的sonarQube根目录
4.更改一些系统配置