1、命名空间注入sidecar
1
2
| kubectl label namespaces test istio-injection=enabled
kubectl get ns test --show-labels
|
2、使用默认文件
2.1 安装
说明:istio有默认文件,也可自己写,默认的安装与查看如下
1
2
3
| kubectl apply -f samples/bookinfo/networking/virtual-service-all-v1.yaml
kubectl get virtualservices -o yaml #显示已定义的路由
kubectl get destinationrules -o yaml #显示相应的 subset 定义
|
将 Istio 配置为路由到 Bookinfo 微服务的 v1 版本,最重要的是 reviews 服务的版本 1。
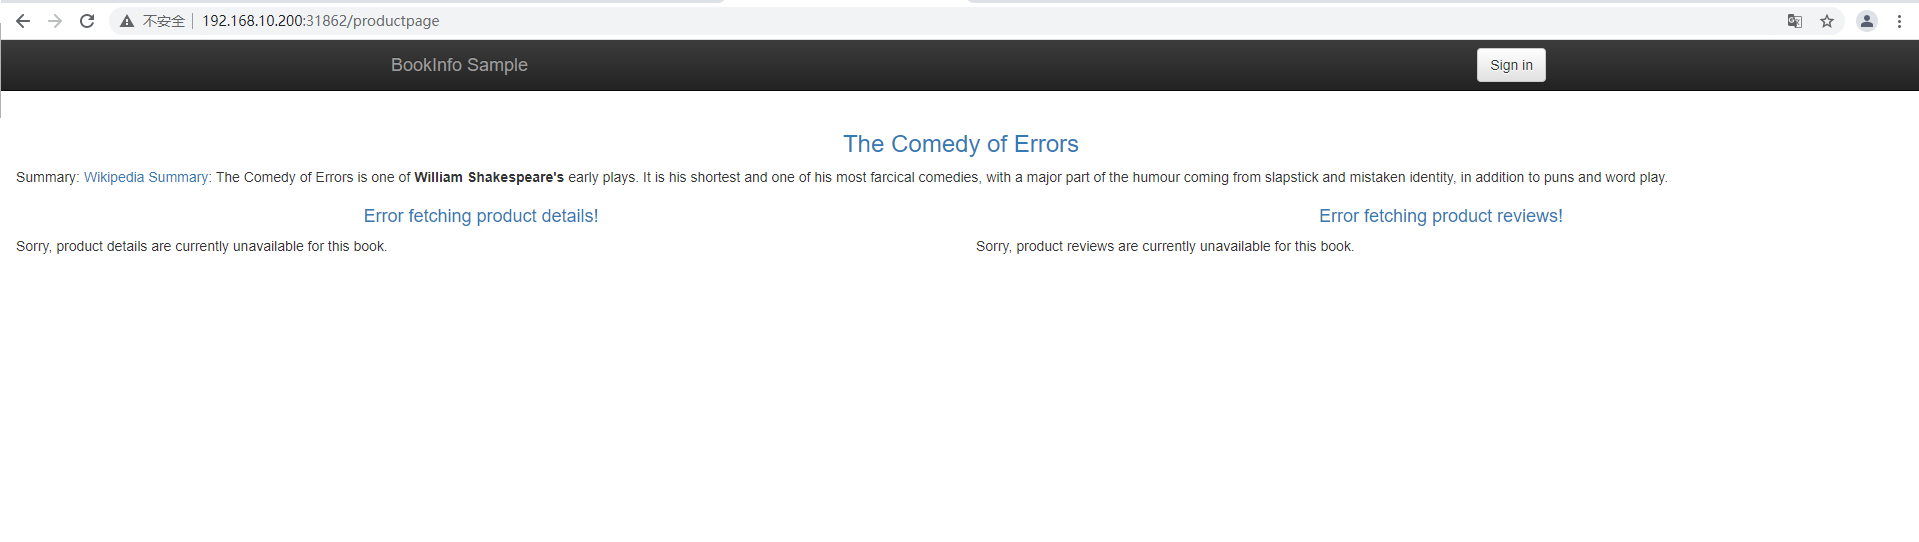
2.2 测试
通过再次刷新 Bookinfo 应用程序的 /productpage 轻松测试新配置,无论刷新多少次,页面的评论部分都不会显示评级星标。这是因为将 Istio 配置为 将评论服务的所有流量路由到版本 reviews:v1,而此版本的服务不访问星级评分服务。
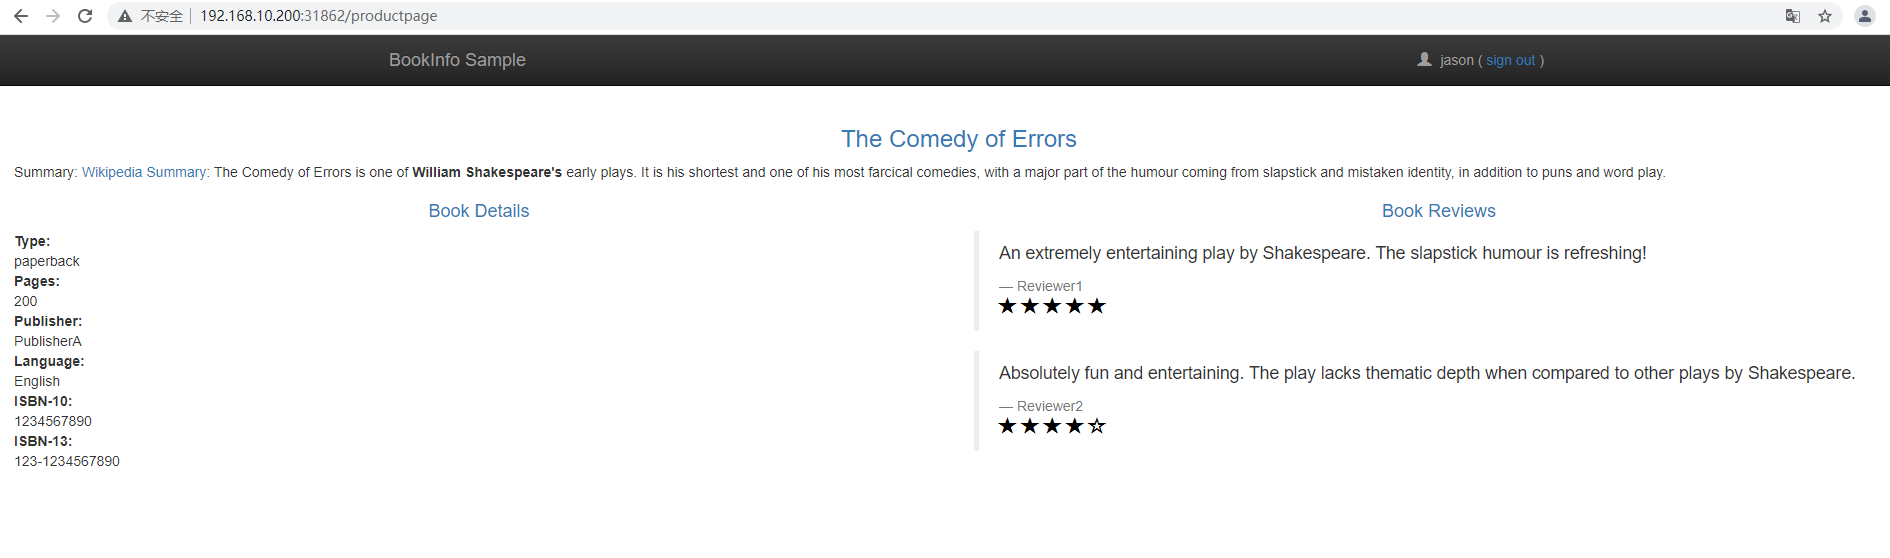
2.3 基于用户身份路由
来自名为 Jason 的用户的所有流量将被路由到服务 reviews:v2,Istio 对用户身份没有任何特殊的内置机制。productpage 服务在所有到 reviews 服务的 HTTP 请求中都增加了一个自定义的 end-user 请求头,从而达到了本例子的效果。
1
2
3
| kubectl apply -f samples/bookinfo/networking/virtual-service-reviews-test-v2.yaml
kubectl apply -f samples/bookinfo/networking/destination-rule-all.yaml
kubectl get virtualservice reviews -o yaml #查看规则是否创建成功
|

在 Bookinfo 应用程序的 /productpage 上,以用户 jason 身份登录。刷新浏览器,看到星级评分显示在每个评论旁边
以其他用户身份登录(选择您想要的任何名称)。刷新浏览器。现在星星消失了。这是因为除了 Jason 之外,所有用户的流量都被路由到 reviews:v1。
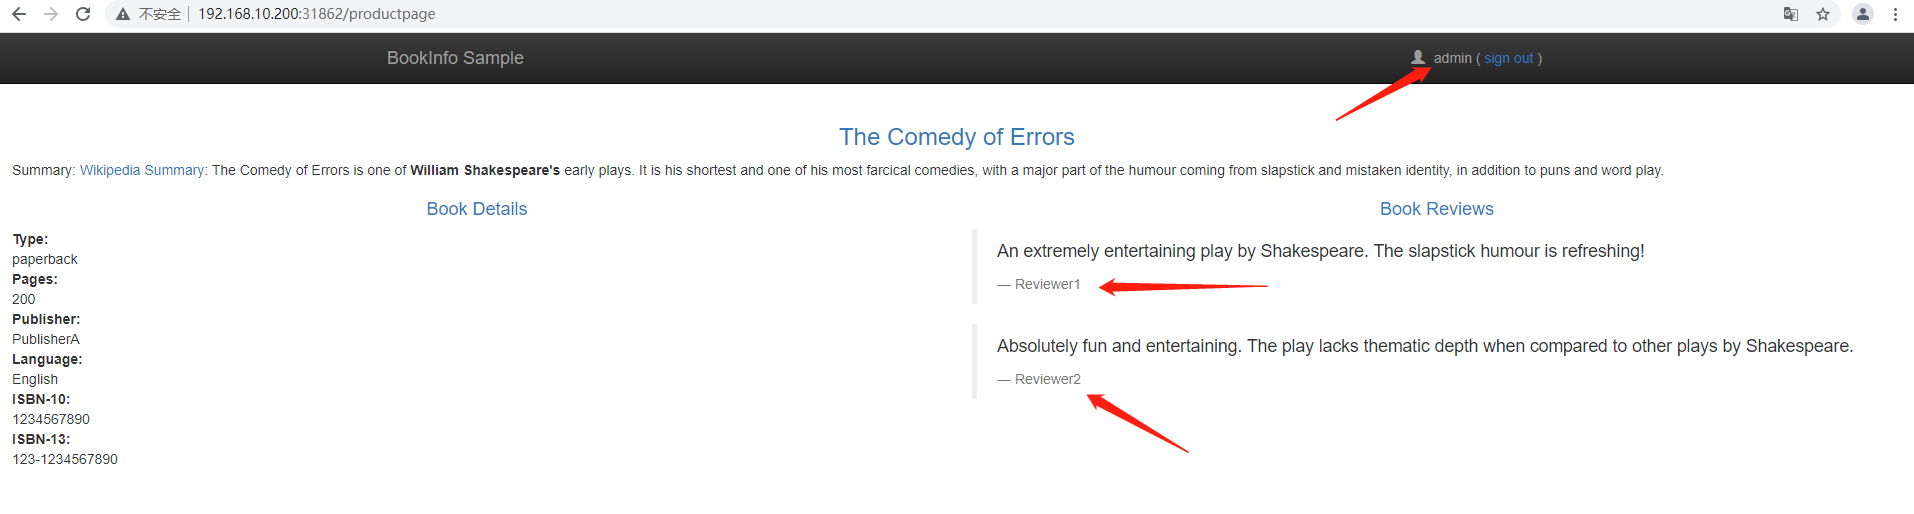
成功配置 Istio 以根据用户身份路由流量。
2.4 理解原理
使用 Istio 将 100% 的请求流量都路由到了 Bookinfo 服务的 v1 版本。 然后设置了一条路由规则,它根据 productpage 服务发起的请求中的 end-user 自定义请求头内容,选择性地将特定的流量路由到了 reviews 服务的 v2 版本。
3、自定义相关资源
3.1 配置Deployment和Service
1
2
3
4
5
6
7
8
9
10
11
12
13
14
15
16
17
18
19
20
21
22
23
24
25
26
27
28
29
30
31
32
33
34
35
36
37
38
| apiVersion: v1
kind: Service
metadata:
name: test-service
namespace: test
labels:
app: test
spec:
ports:
- name: http
nodePort:
port: 8080
protocol: TCP
targetPort: 8080
selector:
app: test
sessionAffinity: None
type: NodePort
---
apiVersion: extensions/v1beta1
kind: Deployment
metadata:
name: test-v1
namespace: test
spec:
replicas: 1
template:
metadata:
labels:
app: test
version: v1
spec:
containers:
- name: test
image: docker.io/kubeguide/tomcat-app:v1
imagePullPolicy: IfNotPresent #Always
ports:
- containerPort: 8080
|
创建deployment和service
3.2 gateway
首先,需要为服务网格启用HTTP/HTTPS流量。 为此,我们需要创建一个Gateway。 Gateway描述了在网络边缘运行的负载均衡器,用于接收传入或传出的HTTP / TCP连接。
让我们创建一个test-gateway.yaml文件:
1
2
3
4
5
6
7
8
9
10
11
12
13
14
15
| apiVersion: networking.istio.io/v1alpha3
kind: Gateway
metadata:
name: test-gateway
namespace: test
spec:
selector:
istio: ingressgateway # use istio default controller
servers:
- port:
number: 80
name: http
protocol: HTTP
hosts:
- "*"
|
创建Gateway
已经为集群启用了HTTP流量。 需要将之前创建的Kubernetes服务映射到Gateway。将使用VirtualService执行此操作。
3.3 VirtualService
VirtualService实际上将Kubernetes服务连接到Istio网关。它还可以执行更多操作,例如定义一组流量路由规则,以便在主机被寻址时应用
创建一个test-virtualservice.yaml文件:
1
2
3
4
5
6
7
8
9
10
11
12
13
14
| apiVersion: networking.istio.io/v1alpha3
kind: VirtualService
metadata:
name: test-virtualservice
namespace: test
spec:
hosts:
- "*"
gateways:
- test-gateway
http:
- route:
- destination:
host: test-service
|
创建VirtualService,请注意,VirtualService与特定网关绑定,并定义引用Kubernetes服务的主机。
测试app v1版本
现在可以开始测试应用了,首先需要拿到Istio Ingress Gateway的外部端口。
1
| kubectl get svc istio-ingressgateway -n istio-system
|

3.4 DestinationRule
在某些时候,希望将应用更新为新版本。 也许想分割两个版本之间的流量。 您需要创建一个DestinationRule来定义那些版本,在Istio中称为子集。
首先,更新test.yaml文件,用v2版本的容器来定义v2的部署(Deployment)
1
2
3
4
5
6
7
8
9
10
11
12
13
14
15
16
17
18
19
20
21
22
23
24
25
26
27
28
29
30
31
32
33
34
35
36
37
38
39
40
41
42
43
44
45
46
47
48
49
50
51
52
53
| apiVersion: v1
kind: Service
metadata:
name: test-service
namespace: test
labels:
app: test
spec:
ports:
- port: 8080
name: http
selector:
app: test
---
apiVersion: extensions/v1beta1
kind: Deployment
metadata:
name: test-v1
namespace: test
spec:
replicas: 1
template:
metadata:
labels:
app: test
version: v1
spec:
containers:
- name: test
image: docker.io/kubeguide/tomcat-app:v1
imagePullPolicy: Always #IfNotPresent
ports:
- containerPort: 8080
---
apiVersion: extensions/v1beta1
kind: Deployment
metadata:
name: test-v2
namespace: test
spec:
replicas: 1
template:
metadata:
labels:
app: test
version: v2
spec:
containers:
- name: test
image: tomcat:8.0
imagePullPolicy: IfNotPresent #Always
ports:
- containerPort: 8080
|
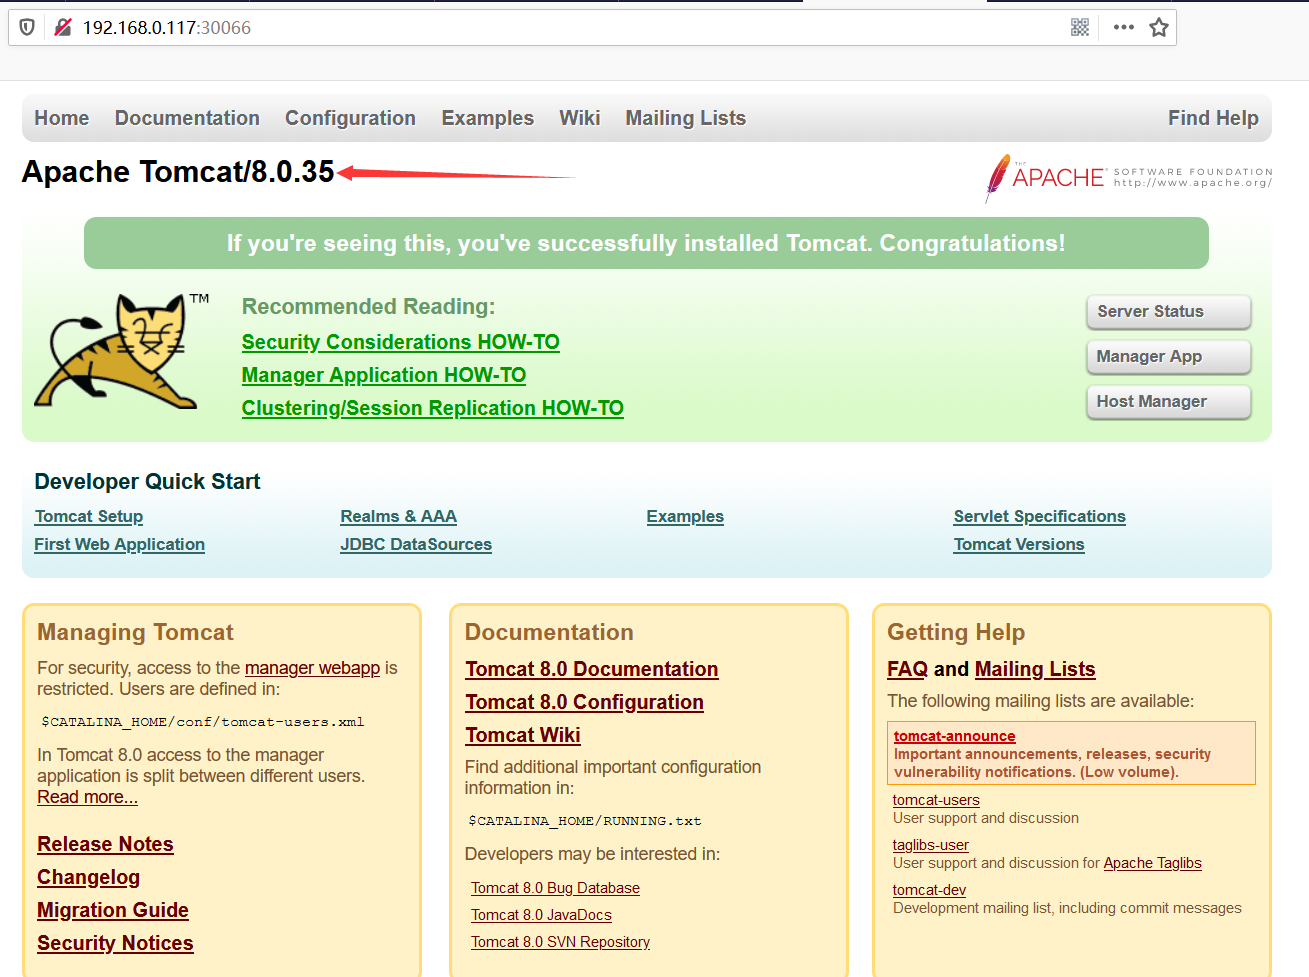
创建一个新的部署(Deployment),如果刷新浏览器,你可以看到VirtualService 在v1 和v2 版本之间切换:
如果您想将服务仅限于v2该怎么办? 可以通过在VirtualService中指定子集来完成,但需要首先在DestinationRules中定义这些子集。 DestinationRule本质上将标签映射到Istio子集。
创建一个test-destinationrule.yaml文件:
1
2
3
4
5
6
7
8
9
10
11
12
13
14
15
16
17
| apiVersion: networking.istio.io/v1alpha3
kind: DestinationRule
metadata:
name: test-destinationrule
namespace: test
spec:
host: test-service
trafficPolicy:
tls:
mode: ISTIO_MUTUAL
subsets:
- name: v1
labels:
version: v1
- name: v2
labels:
version: v2
|
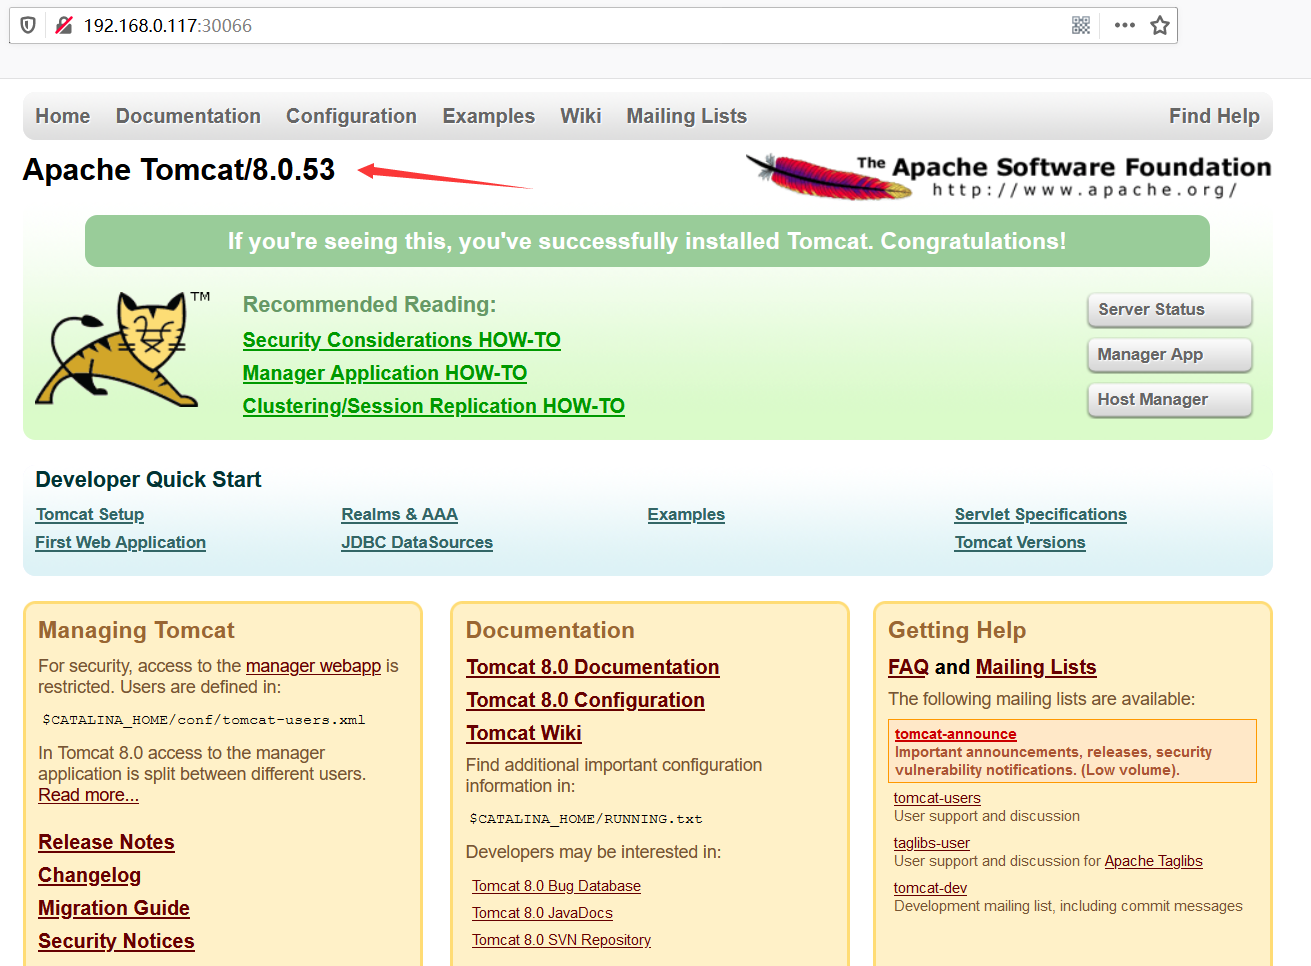
创建DestinnationRule,可以在VirtualService指向v2子集:
1
2
3
4
5
6
7
8
9
10
11
12
13
14
15
| apiVersion: networking.istio.io/v1alpha3
kind: VirtualService
metadata:
name: test-virtualservice
namespace: test
spec:
hosts:
- "*"
gateways:
- test-gateway
http:
- route:
- destination:
host: test-service
subset: v2
|
更新VirtualService,现在再刷新浏览器,你应该只会看到v2版本的内容了